Implementing Role-Based Access Control (RBAC) in Node.js

|
Getting your Trinity Audio player ready...
|
When you build a web application, not every user should see everything. A customer should not access the admin panel. An editor should not delete other users. Without proper access control, one misconfigured route can expose your entire system. This is exactly why RBAC implementation in Node.js has become a standard part of building secure applications.
In this guide, you will learn how to design, implement, and scale role-based access control in a Node.js application. Every section includes real code, clear explanations, and decisions you will actually face in production.
Authentication vs Authorization in Node.js
Before writing any code, you need to understand a critical distinction. These two terms are often confused, but they serve very different purposes.
Authentication answers the question: Who are you? It verifies the identity of a user. When someone logs in with an email and password, that is authentication. A JSON Web Token (JWT) is issued after this step to confirm identity.
Authorization, on the other hand, answers: What are you allowed to do? Even after a user is authenticated, the system still needs to decide which resources they can access. This is where RBAC comes in.
In Node.js, authentication is typically handled with libraries like passport.js or custom JWT middleware. Authorization, however, requires a separate layer — one that checks the user’s role before granting access. Mixing these two concerns is one of the most common mistakes developers make early on.
What Is Role-Based Access Control (RBAC)?
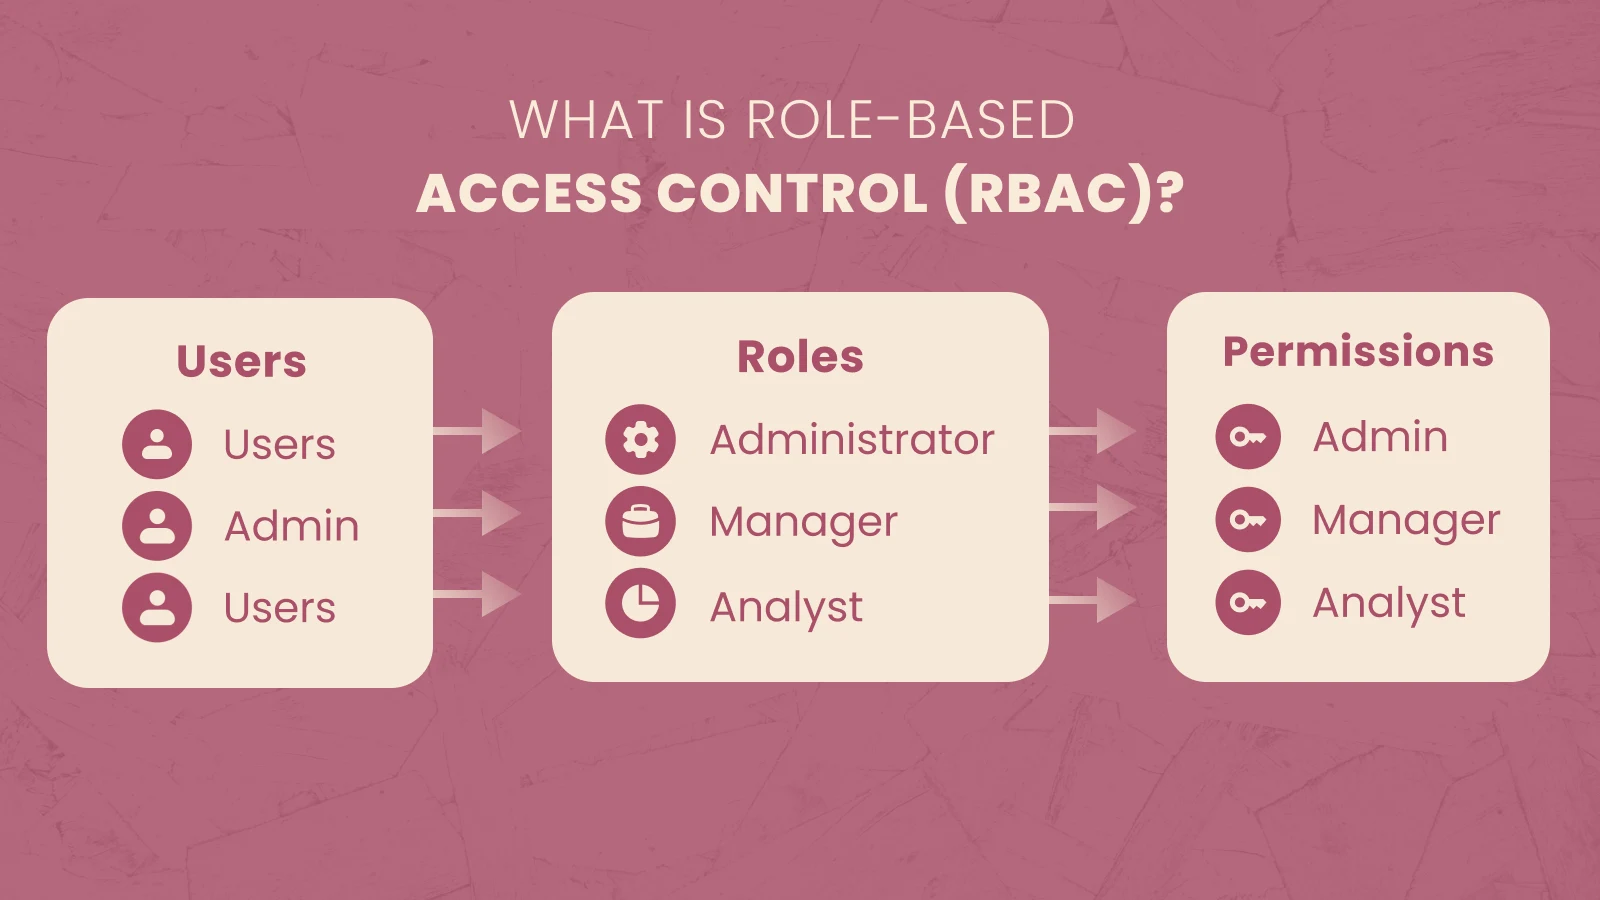
Role-based access control is a method of restricting system access based on a user’s role within an application. Instead of assigning permissions directly to individual users, you assign them to roles. Users are then assigned one or more roles.
The three core components of RBAC are:
- Users — the individuals who log into your system
- Roles — named groups of permissions (e.g., Admin, Editor, User)
- Permissions — specific actions a role can perform (e.g., read:posts, delete:users)
A practical example: in a SaaS dashboard, an Admin has full access to all features. An Editor can create and update content but cannot manage users. A User can only view their own profile and public content. This clean separation makes your authorization logic predictable and easy to audit.
RBAC Architecture and Database Design
A well-designed RBAC system starts with the right database schema. Rather than hardcoding roles in your codebase, you store them in the database so they can be updated without redeployment.
Here is a straightforward schema that works for most applications:
Users Table
| id | password_hash | role_id | created_at | |
|---|---|---|---|---|
| 1 | john@example.com | hashed_password | 1 | 2026-05-20 |
Roles Table
| id | name | description |
|---|---|---|
| 1 | admin | Full system access |
| 2 | editor | Content management |
| 3 | user | Read-only access |
Permissions Table
| id | name | description |
|---|---|---|
| 1 | manage:users | Create, update, delete users |
| 2 | manage:content | Create and edit content |
| 3 | read:content | View published content |
Role-Permissions Join Table
| role_id | permission_id |
|---|---|
| 1 | 1 |
| 1 | 2 |
| 1 | 3 |
| 2 | 2 |
| 2 | 3 |
| 3 | 3 |
For most mid-sized applications, storing the role directly on the user record is enough. However, if you need granular permissions per feature, the full join-table approach gives you far more flexibility.
How to Implement RBAC in Node.js
Now for the practical part. This section walks you through a complete RBAC implementation using Node.js and Express.
Step 1: Authenticate the User and Issue a JWT
When a user logs in, verify their credentials and embed their role in the JWT payload. This way, every subsequent request carries the role without an additional database query.
const jwt = require('jsonwebtoken');
const bcrypt = require('bcrypt');

async function login(req, res) {
  const { email, password } = req.body;
  const user = await User.findOne({ email });

  if (!user || !(await bcrypt.compare(password, user.password_hash))) {
    return res.status(401).json({ message: 'Invalid credentials' });
  }

  const token = jwt.sign(
    { userId: user.id, role: user.role },
    process.env.JWT_SECRET,
    { expiresIn: '1h' }
  );

  res.json({ token });
}
Step 2: Create the Authentication Middleware
Before checking roles, you need to verify the token itself. This middleware runs on every protected route.
function authenticate(req, res, next) {
  const authHeader = req.headers.authorization;

  if (!authHeader || !authHeader.startsWith('Bearer ')) {
    return res.status(401).json({ message: 'No token provided' });
  }

  const token = authHeader.split(' ')[1];

  try {
    const decoded = jwt.verify(token, process.env.JWT_SECRET);
    req.user = decoded;
    next();
  } catch (err) {
    res.status(401).json({ message: 'Invalid or expired token' });
  }
}
Step 3: Build the Role-Check Middleware
This is the heart of RBAC in Express. The checkRole function accepts one or more allowed roles and returns a middleware function.
function checkRole(...allowedRoles) {
  return (req, res, next) => {
    if (!req.user || !allowedRoles.includes(req.user.role)) {
      return res.status(403).json({ message: 'Access denied' });
    }
    next();
  };
}
The usage is clean and readable. You can chain this directly onto any route.
Step 4: Protect Your Routes
With both middleware functions in place, securing routes becomes straightforward.
const express = require('express');
const router = express.Router();

// Public route — no authentication needed
router.get('/public', (req, res) => {
  res.json({ message: 'Anyone can see this' });
});

// Protected — any authenticated user
router.get('/profile', authenticate, (req, res) => {
  res.json({ userId: req.user.userId });
});

// Admin only
router.get('/admin/users', authenticate, checkRole('admin'), (req, res) => {
  res.json({ message: 'Admin panel' });
});

// Admin or Editor
router.post('/content', authenticate, checkRole('admin', 'editor'), (req, res) => {
  res.json({ message: 'Content created' });
});
Securing API Endpoints with Roles
Once your middleware is in place, the pattern for securing API endpoints stays consistent throughout your application.
|
Route |
Method |
Required Role |
|
/api/admin/users |
GET, DELETE |
admin |
|
/api/content |
POST, PUT |
admin, editor |
|
/api/profile |
GET, PUT |
any authenticated user |
|
/api/public |
GET |
none |
A key principle here is to always validate on the server side. Never rely on the frontend to hide a button as your only form of protection. An attacker can call your API directly and bypass any UI restriction. Server-side middleware is your real security layer.
End-to-End Example: SaaS Dashboard
To bring everything together, consider a SaaS dashboard with three roles: Admin, Editor, and User.
When a user logs in, the server issues a JWT with their role embedded. On each API request, the authenticate middleware verifies the token and attaches req.user. Then the checkRole middleware checks whether the user’s role is permitted to access that specific route.
For example, if an Editor tries to access /api/admin/users, the request goes through authenticate (success — valid token), then hits checkRole(‘admin’). Since the Editor’s role is not admin, the middleware returns a 403 immediately. The actual route handler never executes.
This flow keeps your authorization logic centralized in middleware rather than scattered across individual controllers, which makes auditing and updates much simpler.
Common Mistakes in RBAC Implementation
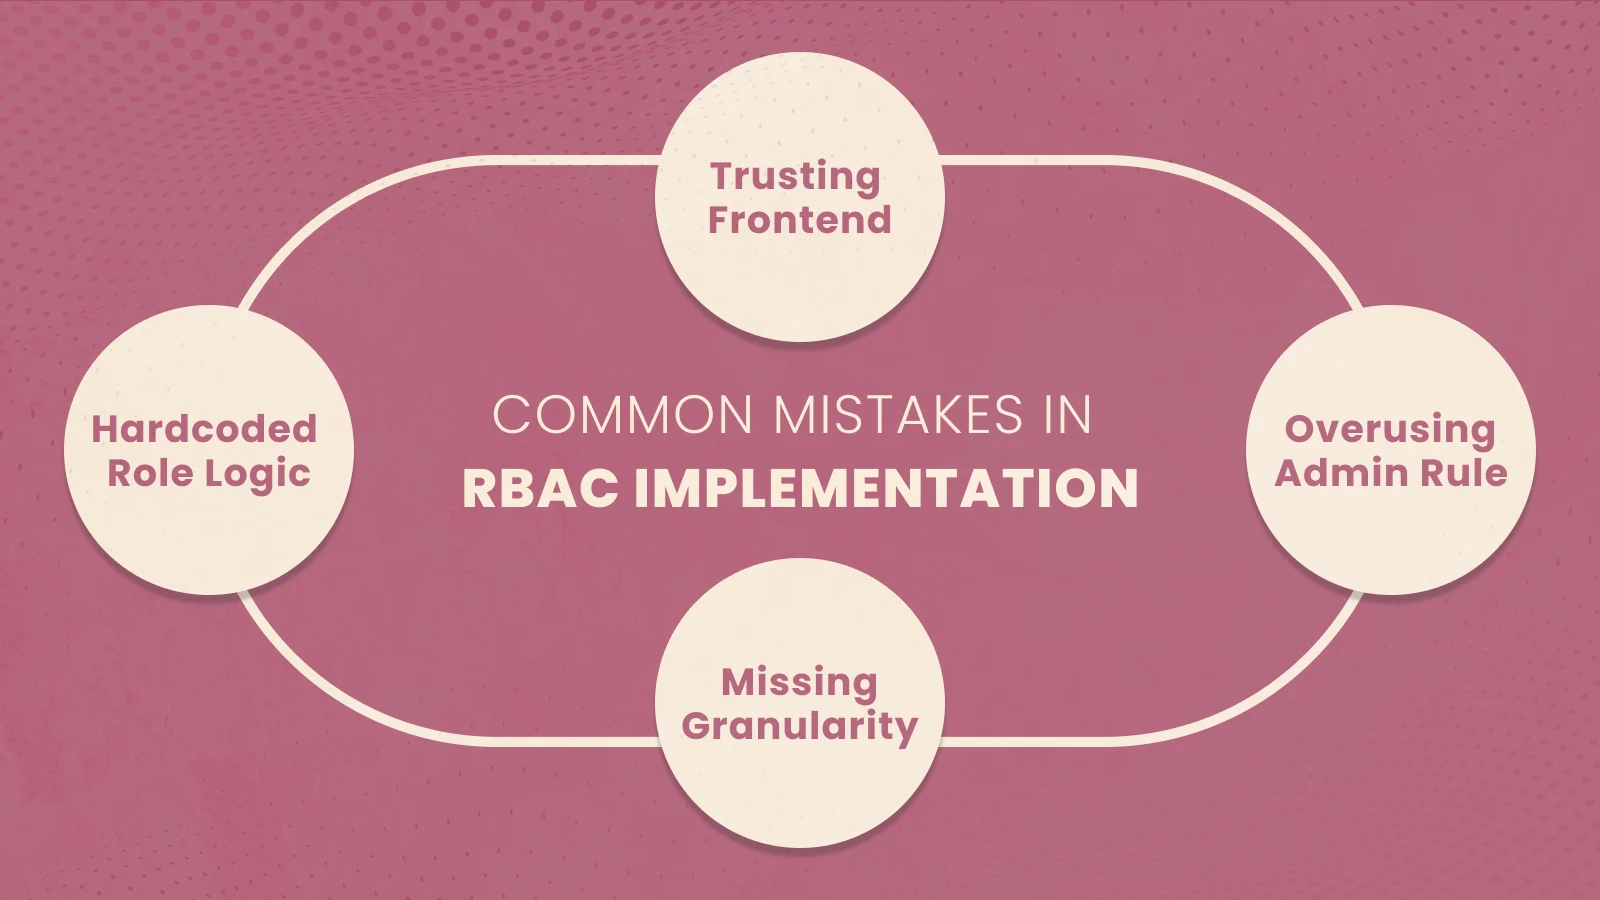
Even experienced developers make these errors. Knowing them in advance will save you significant debugging time.
Hardcoding roles in business logic is the most common problem. When roles are scattered across if/else statements in controllers, adding a new role means hunting through every file. Instead, centralize all role checks in middleware.
Trusting the frontend is another serious mistake. A user can modify their JWT payload if it is not properly signed and verified. Always verify the token signature on the server and never trust a role claim without validation.
Overusing the admin role is a design smell. When every developer gives themselves admin access during testing and that pattern persists into production, the principle of least privilege breaks down completely.
Missing granularity becomes a problem as applications grow. A single editor role that can both publish posts and delete other editors’ drafts may not be appropriate. Consider breaking large roles into smaller, more specific ones as your requirements evolve.
RBAC vs ABAC: Which Should You Use?
Both are valid access control models, but they solve different problems.
RBAC (Role-Based Access Control) is straightforward: access is granted based on a user’s role. It works exceptionally well when your permission requirements are stable and predictable. Most SaaS products, dashboards, and content management systems are a perfect fit.
ABAC (Attribute-Based Access Control) grants access based on attributes — user attributes, resource attributes, or environmental attributes. For example: “allow access if the user is in the same department as the document owner, and the document is not marked confidential.” This is significantly more flexible but also more complex to implement and maintain.
|
Factor |
RBAC |
ABAC |
|
Complexity |
Low |
High |
|
Flexibility |
Moderate |
Very High |
|
Best For |
Standard web apps |
Enterprise, complex rules |
|
Performance |
Fast |
Can be slower |
As a general rule, start with RBAC. Move to ABAC only when your access rules cannot be expressed cleanly through roles alone.
Security Best Practices for RBAC
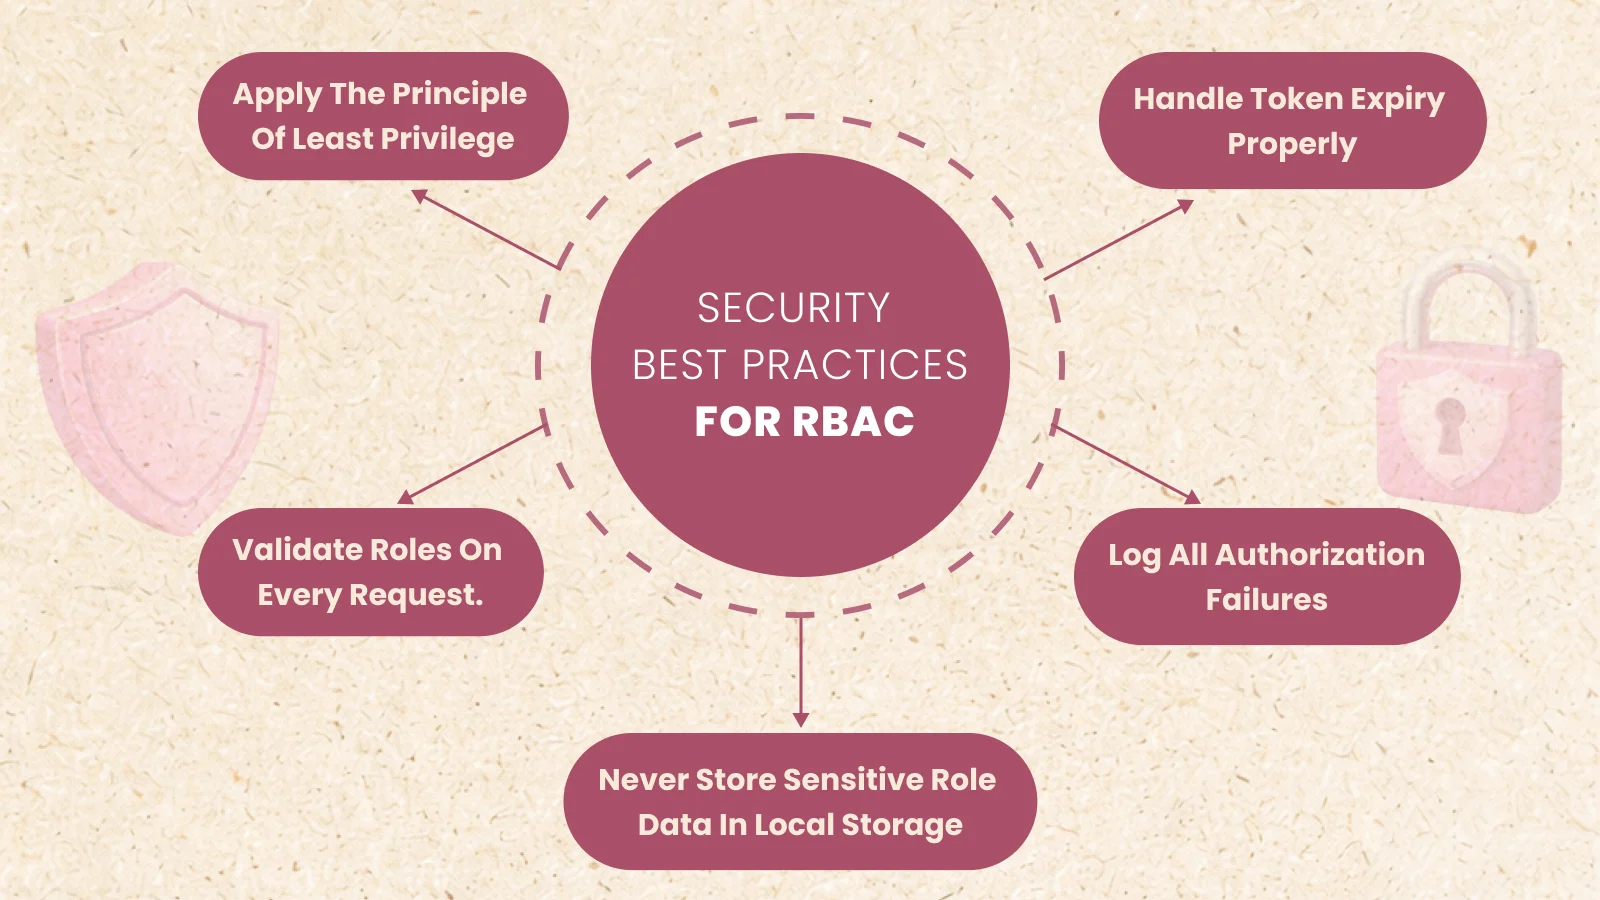
A correct RBAC implementation requires more than just middleware. These practices are essential for production systems.
Apply the principle of least privilege. Every role should have only the permissions it actually needs. If an editor does not need to delete users, that permission should not exist in their role.
Validate roles on every request. Do not cache roles in the frontend for long periods. If a user’s role changes in the database, that change should take effect on their next request or the next token refresh — not days later.
Handle token expiry properly. Short-lived JWTs (15–60 minutes) combined with refresh tokens are a solid pattern. A stolen token becomes useless quickly, which limits the damage from any compromise.
Log all authorization failures. A sudden spike in 403 responses from one IP address or user account is a strong signal of probing or an attempted attack. Your monitoring system should surface this automatically.
Never store sensitive role data in local storage. Use HTTP-only cookies or short-lived tokens. Local storage is accessible to JavaScript, which makes it vulnerable to XSS attacks.
Scaling RBAC in Large Applications
As your application grows, simple role checks start to show limitations. Here is how to handle that gracefully.
Centralized Authorization Service
In a microservices architecture, every service needs to perform authorization. Rather than duplicating middleware across services, extract authorization into a dedicated service. Each microservice calls this service to verify permissions before processing a request.
Avoiding Role Explosion
Over time, teams tend to create more and more roles to handle edge cases. Fifteen roles that overlap in confusing ways are harder to manage than five clean roles. Periodically audit your roles and merge any that serve nearly identical purposes.
Dynamic Permission Loading
For large applications, consider loading permissions from the database on each request rather than embedding them in the JWT. This adds a small overhead but ensures that permission changes take effect immediately without requiring users to log out and back in.
When to Use RBAC — A Decision Framework
Use RBAC when your application has clear, stable user types with distinct permission sets. It is the right choice for most web applications, APIs, and SaaS products.
Consider moving toward ABAC when your access rules depend on resource attributes, time-based conditions, or organizational hierarchy. Healthcare applications, legal document systems, and large enterprise platforms often reach this point.
Avoid RBAC entirely only if your application has no access control requirements at all — which, for any real production system, is almost never the case.
Production Checklist
Before deploying your RBAC system, verify these items:
- [ ] Role-check middleware is applied to all sensitive routes
- [ ] JWT secret is stored in environment variables, not in code
- [ ] Token expiry is set to a reasonable short duration
- [ ] Authorization failures are logged with enough context to investigate
- [ ] Roles are stored in the database, not hardcoded
- [ ] Frontend role-hiding is present for UX, but server-side checks are the real security layer
- [ ] A process exists for updating user roles without service interruption
Conclusion
RBAC implementation in Node.js is not complicated, but it does require clear thinking about structure. The core pattern is simple: authenticate first, then check the role. Keep authorization logic in middleware, centralize it, and never trust the client. As your application scales, the same principles apply whether you are running a monolith or a distributed microservices architecture.
Access control is not an afterthought. It is a fundamental part of how your application behaves. Starting with a clean RBAC design means you will spend far less time patching security holes later.
Secure Your Node.js Application with Smart Role-Based Access Control
Build scalable authentication and authorization systems that protect your APIs, manage permissions efficiently, and improve application security.

Saurabh Sharma
Software Engineer


Related Blogs You Should Explore Next
Expand your backend security knowledge with practical guides on JWT authentication, API security, Express middleware, and scalable Node.js architecture for modern web applications.