The Honest Guide to Node.js Backend Development: What Actually Gets You to Production

|
Getting your Trinity Audio player ready...
|
We’ve Seen Developers Waste Months Getting This Wrong
Let us be direct with you.
Most Node.js tutorials are written to feel complete — they show you a working server in 20 lines, slap on a MongoDB connection, and call it a day. You walk away thinking you know Node.js backend development. Then you try to build something real, and everything falls apart.
The app.listen(3000) part? Easy. The part where your server crashes under load, your .env file gets accidentally pushed to GitHub, your async errors swallow themselves silently, and your codebase turns into spaghetti after week two? Nobody warned you about that.
We’ve been there. Most developers working with Node.js have. This guide is my attempt to write the article we wish existed when we was figuring all this out — covering not just the “how” but the “why it matters when something breaks at 2am.”
Why Node.js Backend Development Clicked for Me (And Why It Should for You)
When we first heard “Node.js is single-threaded,” we thought that sounded terrible. One thread? Isn’t that slow?
Then we actually understood what it was doing — and it changed how we think about backend systems entirely.
The problem with traditional web servers isn’t CPU usage. It’s waiting. A request comes in, it hits a database query, and the thread just… sits there. Doing nothing. Burning memory while it waits for Postgres to respond. Multiply that across 500 simultaneous users and you’ve got a server on its knees.
Node.js said: what if we didn’t wait? What if we registered a callback and went on to handle the next request in the meantime?
That’s the event loop — and it’s genuinely one of the more elegant ideas in modern backend engineering.
The Event Loop Explained Without the Textbook Nonsense
Here’s the version that actually stuck with us:
Imagine a restaurant with one very efficient waiter. That waiter doesn’t stand beside your table staring at the kitchen window waiting for your pasta. They take your order, pass it to the kitchen, and immediately go take someone else’s order. When the kitchen calls out “order up,” the waiter loops back to deliver it.
That’s Node. One waiter. Non-stop movement. No blocking.
┌────────────────────────────┐
│         Call Stack          │
├────────────────────────────┤
│     Node.js Event Loop      │
├────────────────────────────┤
│  Timers → I/O → Poll →     │
│  Check → Close Callbacks    │
├────────────────────────────┤
│     libuv Thread Pool       │
│  (file I/O, crypto, DNS)    │
└────────────────────────────┘
The phases of the event loop you’ll actually care about:
- Timers — runs your setTimeout and setInterval callbacks
- I/O callbacks — most of your database/network responses land here
- Poll — where Node waits for new I/O events when the queue is empty
- Check — runs setImmediate callbacks (useful for deferring work)
- Close callbacks — cleans up after closed connections
You don’t need to memorize all of this on day one. But when you hit a weird timing bug — and you will — knowing this exists will save you hours of confusion.
One real warning though: the event loop is single-threaded, which means CPU-heavy work (image processing, encryption on large files, complex calculations) will block it. That’s not a dealbreaker — you can offload that work to worker threads — but it’s something beginners consistently miss.
Setting Up Your Node.js Backend Development Project the Right Way
We want to save you from a mistake we made early on: starting every project with a flat structure because “it’s just a small project.”
Small projects have a nasty habit of becoming medium projects. And medium projects have an even nastier habit of becoming unmaintainable messes if you didn’t set up your structure early.
The Folder Structure I Actually Use
This isn’t cargo-culted from some article — it’s what survives contact with a real codebase:
my-app/
├── src/
│   ├── config/          # DB connection, environment setup
│   ├── controllers/     # Thin handlers — just call services, send responses
│   ├── middleware/      # Auth, validation, logging, error catching
│   ├── models/          # Database schemas and model methods
│   ├── routes/          # Route definitions only — no logic here
│   ├── services/        # Where the actual business logic lives
│   └── utils/           # Tiny reusable helpers
├── tests/
├── .env                 # Never commit this
├── .env.example         # Always commit this
├── package.json
└── server.js            # One job: start the server
The rule we follow: if we’are writing business logic inside a route handler, we’ve already made a mistake. Controllers should be thin — they receive a request, call a service, and send a response. That’s it.
The NPM Packages Worth Installing From Day One
# The absolute essentials
npm install express dotenv cors helmet morgan

# Auth and validation
npm install express-validator bcryptjs jsonwebtoken

# Database (pick your poison)
npm install mongoose          # If you're going MongoDB
npm install pg sequelize      # If you're going PostgreSQL

# Dev tools
npm install -D nodemon eslint jest supertest
A few notes on why I specifically include helmet and morgan immediately — not later when “security becomes a concern”:
helmet takes about 10 seconds to add and silently sets a dozen security headers that protect you from common browser-based attacks. There’s no good reason not to add it on line one. morgan gives you HTTP request logging, which is the first thing you’ll want when debugging why your API is returning a 404 and you have zero visibility into what’s happening.
The Async Programming Section Nobody Writes Honestly
Here’s what actually happens when developers learn async in Node.js:
They learn callbacks. They get confused. They discover Promises. They feel better. They learn async/await. They think they’ve got it. Then they hit a production bug where a rejected Promise is swallowing itself silently and they have no idea why their server is just… doing nothing.
Let us walk through the evolution honestly.
Callbacks: Why They Existed and Why We Moved On
fs.readFile('./data.json', 'utf8', (err, data) => {
  if (err) return console.error(err);
  console.log(JSON.parse(data));
});
Callbacks work fine for single operations. The problem is nesting. Try chaining three or four dependent async calls with callbacks and you end up with code that points diagonally across your screen. “Callback hell” is a real thing that drove real developers genuinely insane.
Promises: Better, But Verbose
fs.promises.readFile('./data.json', 'utf8')
  .then(data => console.log(JSON.parse(data)))
  .catch(err => console.error(err));
Much cleaner. But chaining multiple .then() calls still gets messy fast, and the mental model requires you to think in pipelines rather than steps.
async/await: The One You Should Actually Write
async function loadData() {
  try {
    const data = await fs.promises.readFile('./data.json', 'utf8');
    return JSON.parse(data);
  } catch (err) {
    console.error('Failed to load data:', err.message);
    throw err; // Don't swallow errors — rethrow or handle them explicitly
  }
}
This reads like synchronous code, which means you can reason about it top-to-bottom. When something breaks, the stack trace makes sense. When someone else reads it six months later, they don’t need to decode a promise chain to understand what’s happening.
The Parallel Mistake That Slows Down More APIs Than You’d Think
We see this constantly in code reviews. Someone writes:
// This looks innocent. It's not.
const user    = await getUser(id);
const posts   = await getPosts(id);
const profile = await getProfile(id);
Each line waits for the previous one to finish before starting. If each call takes 100ms, you’ve just spent 300ms when you could have spent 100ms. These calls don’t depend on each other — run them in parallel:
// This is the version that respects your users' time
const [user, posts, profile] = await Promise.all([
  getUser(id),
  getPosts(id),
  getProfile(id)
]);
Promise.all fires all three simultaneously. Total wait time equals the slowest one, not the sum of all three. On a busy API, this kind of optimization compounds fast.
One caveat: if one Promise in Promise.all fails, the whole thing rejects. When you want all results regardless of individual failures, use Promise.allSettled instead.
Building REST APIs with Express.js: The Node.js Backend Development Part You Actually Came For
Express is almost comically minimal — it does almost nothing by default, which is exactly what makes it powerful. You compose only what you need.
The App Setup That Doesn’t Cause Regrets Later
// src/app.js — the application factory
const express = require('express');
const helmet  = require('helmet');
const cors    = require('cors');
const morgan  = require('morgan');

const userRoutes   = require('./routes/userRoutes');
const errorHandler = require('./middleware/errorHandler');

const app = express();

app.use(helmet());
app.use(cors());
app.use(morgan('combined'));
app.use(express.json({ limit: '10kb' }));  // That size limit matters — don't skip it

app.use('/api/v1/users', userRoutes);

// 404 — must come after all routes
app.use((req, res) => {
  res.status(404).json({ status: 'error', message: 'Route not found' });
});

// Error handler — must be LAST, always four parameters
app.use(errorHandler);

module.exports = app;
Notice there’s no app.listen() here. That lives in server.js. The reason is testing — when you write integration tests, you import the app without starting a server. It’s a small thing that makes your test setup dramatically cleaner.
Route Design: A Few Opinions Worth Having
// src/routes/userRoutes.js
const router = require('express').Router();
const { getUsers, createUser, getUserById, updateUser, deleteUser } = require('../controllers/userController');
const authenticate = require('../middleware/authenticate');

router.route('/').get(authenticate, getUsers).post(createUser);
router.route('/:id').get(authenticate, getUserById).patch(authenticate, updateUser).delete(authenticate, deleteUser);

module.exports = router;
Some REST conventions that I’ve found genuinely save headaches later:
- Nouns, not verbs. /users not /getUsers. The HTTP method is already the verb.
- Version from day one: /api/v1/. You will change things. You will have clients on the old version. Version early.
- Consistent response shapes across every endpoint. Decide on a format ({ status, data } or { success, result } — pick one) and never deviate.
Writing a Controller That Doesn’t Secretly Hate Future You
// src/controllers/userController.js
const User       = require('../models/User');
const catchAsync = require('../utils/catchAsync');
const AppError   = require('../utils/AppError');

exports.getUserById = catchAsync(async (req, res, next) => {
  const user = await User.findById(req.params.id).select('-password');

  if (!user) {
    return next(new AppError('No user found with that ID', 404));
  }

  res.status(200).json({
    status: 'success',
    data: { user }
  });
});
The catchAsync wrapper is one of those things that seems like a minor convenience until you’ve worked on a codebase without it. It wraps any async route handler and automatically forwards uncaught rejections to your error middleware. No more accidentally swallowed errors.
Middleware Architecture: The Part That Separates Amateur from Production Code
Middleware is where your Express application gets its shape. Every request passes through a chain of functions before it ever reaches your route handler — and that chain is where authentication, validation, logging, and error handling all live.
A Centralized Error Handler You’ll Actually Trust
The worst pattern I see in Express apps is scattered try/catch blocks with ad-hoc error responses. Some routes return { error: “something went wrong” }, others return { message: “not found” }, others just throw and return a 500 with an HTML page.
Consolidate it:
// src/middleware/errorHandler.js
const AppError = require('../utils/AppError');

const handleValidationError = (err) => {
  const message = Object.values(err.errors).map(e => e.message).join('. ');
  return new AppError(`Validation failed: ${message}`, 400);
};

module.exports = (err, req, res, next) => {
  err.statusCode = err.statusCode || 500;
  err.status     = err.status || 'error';

  // Handle specific known error types
  if (err.name === 'ValidationError')   err = handleValidationError(err);
  if (err.name === 'JsonWebTokenError') err = new AppError('Invalid token. Please log in again.', 401);
  if (err.code === 11000)               err = new AppError('Duplicate field value. Please use another.', 400);

  res.status(err.statusCode).json({
    status:  err.status,
    message: err.message,
    // Only show stack traces in development — never in production
    ...(process.env.NODE_ENV === 'development' && { stack: err.stack })
  });
};
Now every error in your entire application goes through one place. When you need to change the error response format, you change it once. When you need to add Sentry error reporting, you add it once.
JWT Authentication Middleware That’s Actually Secure
// src/middleware/authenticate.js
const jwt        = require('jsonwebtoken');
const User       = require('../models/User');
const AppError   = require('../utils/AppError');
const catchAsync = require('../utils/catchAsync');

module.exports = catchAsync(async (req, res, next) => {
  // Check the Authorization header
  const token = req.headers.authorization?.startsWith('Bearer')
    ? req.headers.authorization.split(' ')[1]
    : null;

  if (!token) return next(new AppError('You are not logged in. Please log in to get access.', 401));

  // Verify the signature — throws if tampered or expired
  const decoded = jwt.verify(token, process.env.JWT_SECRET);

  // Confirm the user still exists (they might have been deleted since token was issued)
  const currentUser = await User.findById(decoded.id);
  if (!currentUser) return next(new AppError('The user belonging to this token no longer exists.', 401));

  req.user = currentUser;
  next();
});
That last check — confirming the user still exists — is something a lot of tutorials skip. It matters. If you delete a user account, their existing tokens should stop working immediately, not continue working until expiry.
Connecting MongoDB for Node.js Backend Development That Survives Real Traffic
MongoDB and Node.js have a natural affinity — JSON-native, schema-flexible, and the Mongoose ODM makes it genuinely pleasant to work with.
That said, I’ve seen MongoDB connections handled badly in ways that cause subtle, hard-to-debug production problems. Let’s do it properly.
Database Connection with Retry Logic (Because Networks Are Unreliable)
// src/config/database.js
const mongoose = require('mongoose');

const connectDB = async () => {
  const maxRetries = 5;
  let retries = 0;

  while (retries < maxRetries) {
    try {
      await mongoose.connect(process.env.MONGO_URI, {
        maxPoolSize: 10,
        serverSelectionTimeoutMS: 5000,
        socketTimeoutMS: 45000,
      });
      console.log('MongoDB connected');
      return;
    } catch (err) {
      retries++;
      console.error(`DB connection attempt ${retries} failed: ${err.message}`);
      if (retries === maxRetries) throw err;
      // Wait longer between each retry
      await new Promise(r => setTimeout(r, 2000 * retries));
    }
  }
};

module.exports = connectDB;
The maxPoolSize: 10 is worth understanding. Mongoose maintains a pool of persistent connections to MongoDB rather than opening a new connection on every request. maxPoolSize caps how many concurrent connections it can open. For most apps, 10 is fine. High-traffic APIs may need more.
Designing a Mongoose Schema With the Features You’ll Actually Need
// src/models/User.js
const mongoose = require('mongoose');
const bcrypt   = require('bcryptjs');

const userSchema = new mongoose.Schema({
  name:      { type: String, required: [true, 'Name is required'], trim: true },
  email:     { type: String, required: true, unique: true, lowercase: true },
  password:  { type: String, required: true, minlength: 8, select: false },
  role:      { type: String, enum: ['user', 'admin'], default: 'user' },
  createdAt: { type: Date, default: Date.now }
});

// Hash password before any save that modifies it
userSchema.pre('save', async function(next) {
  if (!this.isModified('password')) return next();
  this.password = await bcrypt.hash(this.password, 12);
  next();
});

// Attach method directly to the model
userSchema.methods.comparePassword = async function(candidatePassword, hashedPassword) {
  return bcrypt.compare(candidatePassword, hashedPassword);
};

module.exports = mongoose.model('User', userSchema);
A few decisions baked in here that I’d argue about with anyone: select: false on the password field means Mongoose never returns it in queries unless you explicitly ask. This prevents the accidental leak of password hashes in API responses — which I’ve seen happen more than once in real codebases.
Real-Time Features with Socket.io: Where Node.js Backend Development Really Shines
Real-time apps are genuinely one of Node.js’s strongest use cases. The event-driven architecture that makes it efficient for HTTP requests makes it even better suited for persistent WebSocket connections.
Chat apps, live notifications, collaborative tools, real-time dashboards — these are where Node.js just feels natural.
Wiring Socket.io Into Your Existing Express App
// server.js
const http  = require('http');
const { Server } = require('socket.io');
const app   = require('./src/app');

// Important: pass the Express app into http.createServer
const server = http.createServer(app);
const io     = new Server(server, {
  cors: { origin: process.env.CLIENT_URL, methods: ['GET', 'POST'] }
});

io.on('connection', (socket) => {
  console.log(`User connected: ${socket.id}`);

  socket.on('join_room', (room) => {
    socket.join(room);
  });

  socket.on('send_message', ({ room, message, sender }) => {
    // Emit to everyone in the room including sender
    io.to(room).emit('receive_message', {
      message,
      sender,
      timestamp: new Date()
    });
  });

  socket.on('disconnect', () => {
    console.log(`User disconnected: ${socket.id}`);
  });
});

server.listen(process.env.PORT || 3000);
The piece that trips people up is that app.listen() returns an HTTP server, but if you use it directly with Socket.io you lose some flexibility. Creating the HTTP server explicitly (http.createServer(app)) and attaching both Express and Socket.io to it gives you the most control.
Microservices: An Honest Take for Node.js Backend Development
We want to push back a little on the way microservices are often presented to junior developers.
The tutorials show a clean architecture diagram with six services communicating beautifully. What they don’t show is the developer three months later, trying to debug a request that touches four services, produces an error in the third, and leaves no useful trace anywhere.
Microservices are genuinely powerful. They’re also genuinely complex. Before you go there, make sure you actually need them.
When Microservices Make Sense
You’ve outgrown a monolith when specific symptoms appear — not before:
- Your deployment pipeline has become a liability (one team’s change blocks every other team’s release)
- One part of your system needs to scale by 50x while everything else stays the same
- You’re hitting hard limits on a single database or process
If those symptoms don’t describe your situation, a well-structured monolith with clean separation of concerns will serve you better and be dramatically easier to debug.
Service Communication: A Simple Mental Model
When you do need services to talk to each other, the choice of how they communicate matters a lot:
REST/HTTP        → Use when you need an immediate response ("Is this user authenticated?")
Message Queue    → Use when you don't need an immediate response ("Send this email")
gRPC             → Use when services are internal and performance is critical
My default recommendation: start with REST for everything, introduce a message queue (Redis Pub/Sub is a lightweight start) when you identify operations that don’t need to block the request.
Backend Performance: The Node.js Optimizations Worth Your Time

There’s a lot of premature optimization advice out there. Here are the things that actually move the needle.
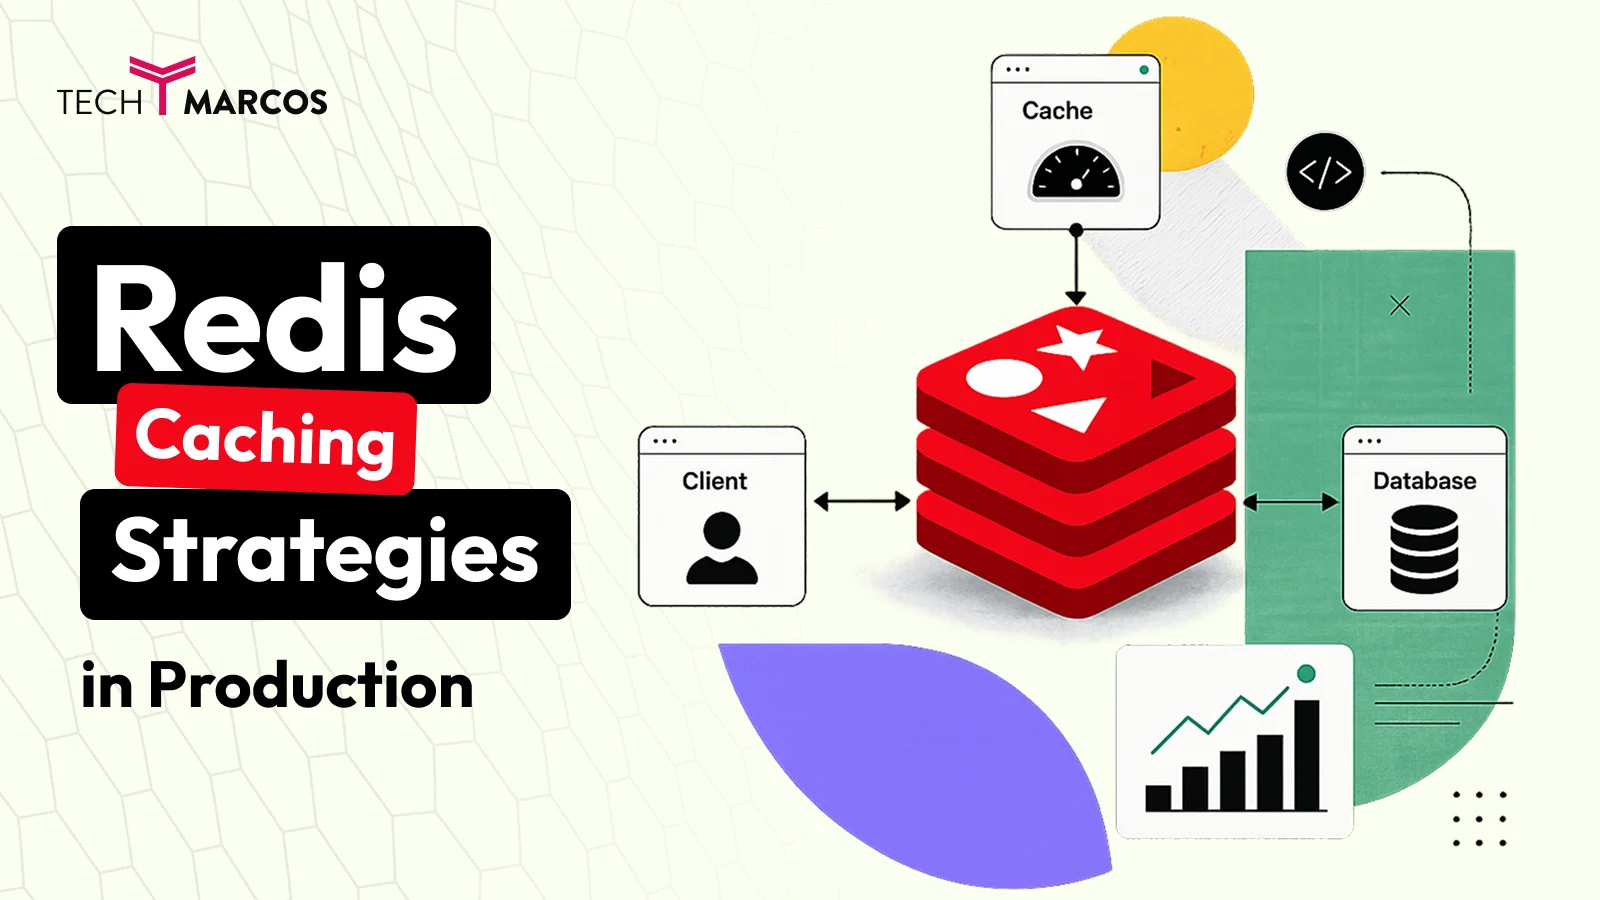
Redis Caching: The Biggest Win for the Least Effort
If your API returns data that doesn’t change every millisecond, you should be caching it. Redis makes this almost embarrassingly easy:
const redis  = require('redis');
const client = redis.createClient({ url: process.env.REDIS_URL });

const cache = (durationSeconds) => async (req, res, next) => {
  const key = `cache:${req.originalUrl}`;

  try {
    const cached = await client.get(key);
    if (cached) return res.json(JSON.parse(cached));

    // Intercept the response to cache it
    const originalJson = res.json.bind(res);
    res.json = async (body) => {
      await client.setEx(key, durationSeconds, JSON.stringify(body));
      originalJson(body);
    };

    next();
  } catch {
    next(); // Redis is down — fail open, not closed
  }
};

// Cache the product list for 5 minutes
router.get('/products', cache(300), getProducts);
Notice the fail open approach in the catch block: if Redis goes down, we just don’t cache — we don’t crash the request. Your API stays up, just slightly slower.
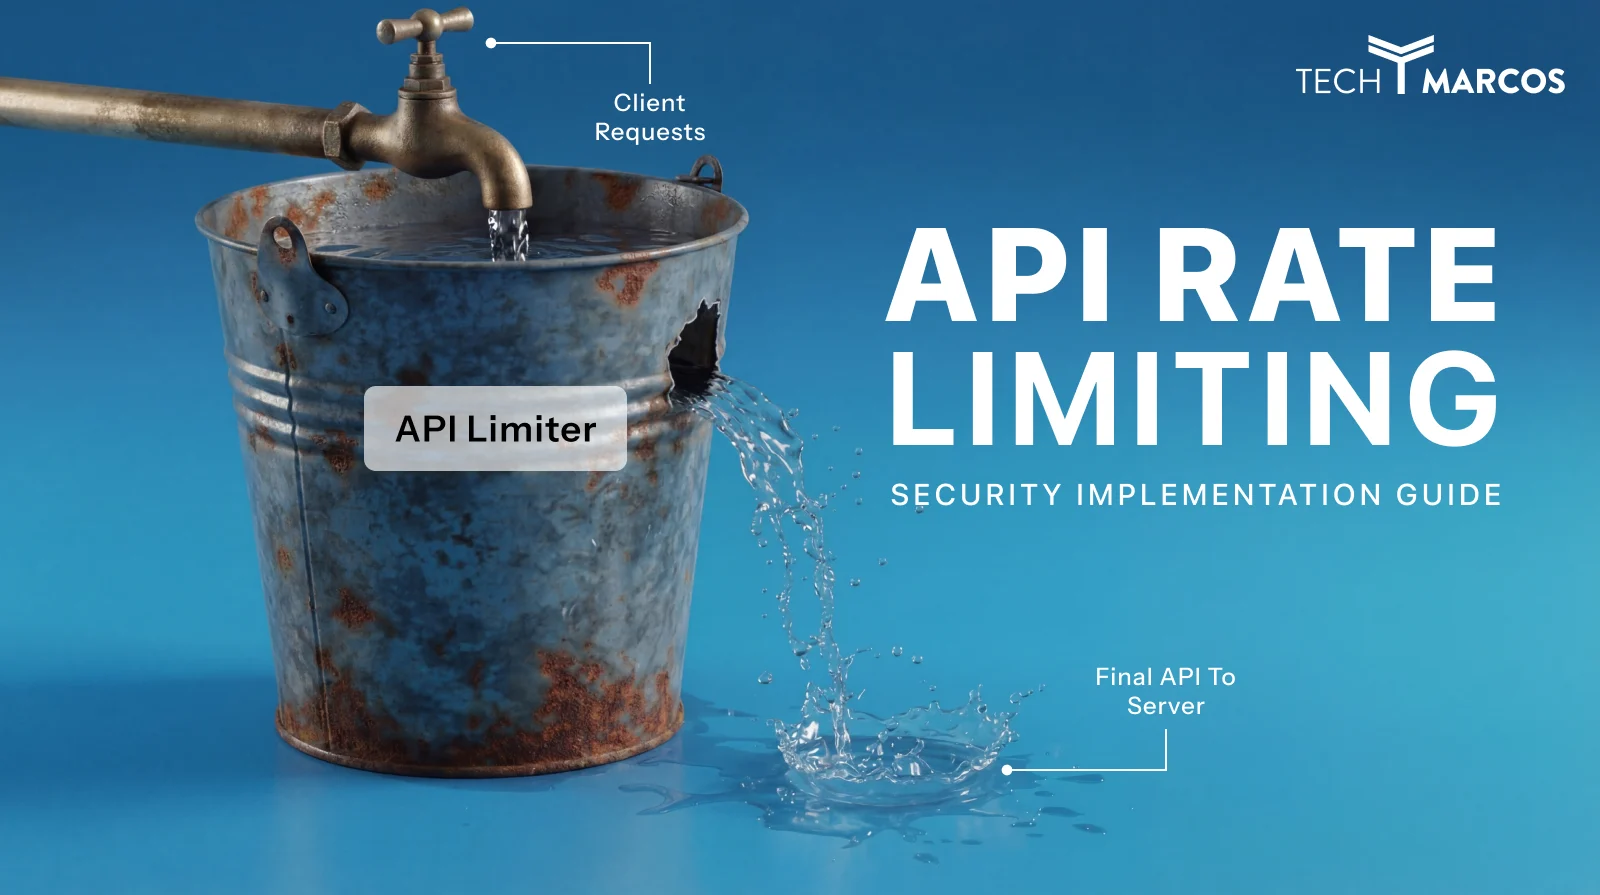
Rate Limiting: Simple to Add, Painful to Add Later
const rateLimit = require('express-rate-limit');

const limiter = rateLimit({
  windowMs: 15 * 60 * 1000,  // 15 minute window
  max: 100,                   // 100 requests per window per IP
  standardHeaders: true,
  message: { status: 'error', message: 'Too many requests. Slow down.' }
});

// Apply to all API routes
app.use('/api/', limiter);
Add this early. Retrofitting rate limiting into an API that’s already in production — with clients that may have come to depend on making unlimited requests — is not a fun conversation to have.
Utilizing All CPU Cores
Node.js is single-threaded, but your server almost certainly has multiple CPU cores sitting idle. Fix that:
// cluster.js
const cluster = require('cluster');
const os      = require('os');

if (cluster.isPrimary) {
  const cpuCount = os.cpus().length;
  console.log(`Starting ${cpuCount} workers`);

  for (let i = 0; i < cpuCount; i++) cluster.fork();

  cluster.on('exit', (worker, code) => {
    console.log(`Worker ${worker.process.pid} died (code ${code}). Restarting...`);
    cluster.fork();
  });
} else {
  require('./server');
}
Run node cluster.js in production instead of node server.js. Instant multi-core utilization. PM2 handles this automatically with -i max, which is honestly the easier path for most teams.
Security: The Node.js Backend Development Stuff That Actually Gets You Hacked

Security deserves its own honest paragraph before the code: most Node.js security vulnerabilities aren’t sophisticated attacks. They’re developers who skipped the basics because they were moving fast.
We’ve reviewed codebases where JWT secrets were committed to GitHub, where user input was passed directly to MongoDB queries, where there was no rate limiting on the login endpoint. These aren’t exotic mistakes. They’re easy to make and easy to avoid.
The Security Middleware Stack That Should Be Non-Negotiable
const mongoSanitize = require('express-mongo-sanitize');
const xss           = require('xss-clean');
const hpp           = require('hpp');

app.use(helmet());                        // 12 HTTP security headers, one line
app.use(mongoSanitize());                 // Strips $ and . from input — blocks NoSQL injection
app.use(xss());                           // Encodes malicious HTML in user input
app.use(hpp());                           // Prevents duplicate query parameter attacks
app.use(express.json({ limit: '10kb' })); // Reject payloads > 10kb (prevents certain DoS attacks)
Input Validation at the Route Level
const { body, validationResult } = require('express-validator');

const validateUser = [
  body('email').isEmail().normalizeEmail(),
  body('password').isLength({ min: 8 }).trim(),
  body('name').notEmpty().escape(),

  (req, res, next) => {
    const errors = validationResult(req);
    if (!errors.isEmpty()) {
      return res.status(400).json({ status: 'error', errors: errors.array() });
    }
    next();
  }
];
Validate at the route level, before anything else touches the data. Never validate inside a service function where it’s harder to trace.
The .env File Is Not Optional
# .env — never, ever commit this file
NODE_ENV=production
PORT=3000
JWT_SECRET=use-a-real-256-bit-secret-not-this-string
MONGO_URI=mongodb+srv://...
REDIS_URL=redis://...
Always commit a .env.example with the same keys but empty values. That way a new developer knows what variables they need without you accidentally exposing production credentials.
Testing: The Investment That Pays You Back Constantly
I won’t tell you that you need 100% test coverage — that’s often a waste of time. But I will tell you that integration tests on your core API endpoints will save you from embarrassing production bugs more reliably than any other single practice.
Integration Tests With Jest and Supertest
// tests/user.test.js
const request  = require('supertest');
const app      = require('../src/app');
const mongoose = require('mongoose');

beforeAll(async () => {
  await mongoose.connect(process.env.MONGO_TEST_URI);
});

afterAll(async () => {
  await mongoose.connection.dropDatabase();
  await mongoose.connection.close();
});

describe('User endpoints', () => {
  it('POST /api/v1/users — creates a user and returns 201', async () => {
    const res = await request(app)
      .post('/api/v1/users')
      .send({ name: 'Jane Doe', email: 'jane@test.com', password: 'password123' });

    expect(res.statusCode).toBe(201);
    expect(res.body.data.user).toHaveProperty('email', 'jane@test.com');
    expect(res.body.data.user).not.toHaveProperty('password'); // This should never leak
  });

  it('POST /api/v1/users — rejects invalid email with 400', async () => {
    const res = await request(app)
      .post('/api/v1/users')
      .send({ name: 'Bad Actor', email: 'definitely-not-an-email', password: 'password123' });

    expect(res.statusCode).toBe(400);
  });
});
Use a separate test database (MONGO_TEST_URI). Drop it after every test run. Keep tests self-contained so they can run in any order.
The testing hierarchy we actually follow in practice:
- Unit tests for utility functions and data transformation logic
- Integration tests for every route (most of your testing effort goes here)
- End-to-end tests only for the two or three most critical user flows
Deploying Your Node.js Backend: Getting It Out of Localhost
PM2: The Tool That Keeps Your Server Up
npm install -g pm2

# Start in cluster mode — uses all CPU cores automatically
pm2 start server.js --name "my-api" -i max

# Make it survive server reboots
pm2 startup
pm2 save

# Watch what's happening in real time
pm2 monit
PM2 will restart your application if it crashes. It’ll restart it on server reboot. It handles log rotation. For a lot of production deployments, PM2 alone is sufficient.
Docker: The “It Works on My Machine” Problem, Solved
FROM node:20-alpine

WORKDIR /app

# Install dependencies first (layer caching — rebuilds are faster)
COPY package*.json ./
RUN npm ci --only=production

COPY src/ ./src/
COPY server.js .

ENV NODE_ENV=production
EXPOSE 3000

# Run as non-root user — security best practice
USER node

CMD ["node", "server.js"]
# docker-compose.yml
version: '3.8'
services:
  api:
    build: .
    ports:
      - "3000:3000"
    env_file: .env
    depends_on:
      - mongo
      - redis

  mongo:
    image: mongo:7
    volumes:
      - mongo_data:/data/db

  redis:
    image: redis:7-alpine

volumes:
  mongo_data:
The USER node line in the Dockerfile is easy to miss and worth understanding. Running containers as root means that if someone exploits a vulnerability in your app, they have root access to the container. Running as a non-root user limits the blast radius.
Before You Hit the “Deploy” Button
A checklist I actually run through before every production deployment:
- [ ] All secrets in environment variables, not in code
- [ ] HTTPS configured (Nginx reverse proxy or cloud load balancer)
- [ ] Rate limiting on all public endpoints
- [ ] Structured logging with Winston or Pino
- [ ] A working /health endpoint (your load balancer needs this)
- [ ] Graceful shutdown on SIGTERM (finish in-flight requests, then exit)
- [ ] Error monitoring connected — Sentry has a generous free tier
- [ ] All tests passing in CI before the deploy even starts
Logging: Because Production Silence Is Terrifying
There’s nothing worse than getting a support ticket about a bug that happened two days ago, having no logs, and trying to reconstruct what went wrong from user descriptions alone.
Structured logging costs almost nothing to set up and pays back massively when things go sideways.
Winston Setup That Actually Works in Production
// src/config/logger.js
const winston = require('winston');

const logger = winston.createLogger({
  level: process.env.LOG_LEVEL || 'info',
  format: winston.format.combine(
    winston.format.timestamp(),
    winston.format.errors({ stack: true }),
    process.env.NODE_ENV === 'production'
      ? winston.format.json()            // Machine-readable in production
      : winston.format.simple()          // Human-readable in development
  ),
  transports: [
    new winston.transports.Console(),
    new winston.transports.File({ filename: 'logs/error.log', level: 'error' }),
    new winston.transports.File({ filename: 'logs/combined.log' })
  ]
});

module.exports = logger;
JSON logs in production mean you can pipe them to a log aggregator (ELK Stack, Datadog, CloudWatch) and search them like a database. When someone reports “the order creation failed around 3pm yesterday,” you can actually find out what happened.
Quick-Reference: Node.js Backend Development Principles I Keep Coming Back To

After working on enough Node.js projects to have made most of the common mistakes, these are the things I find myself repeating most often:
On architecture:
- Business logic belongs in service functions, not route handlers. Controllers are thin by definition.
- If you can’t write a one-sentence description of what a file does, it’s doing too many things.
- Validate at the edges. By the time data reaches a service function, it should already be clean.
On async code:
- Always handle unhandledRejection and uncaughtException at the process level. Silent failures are the hardest to debug.
- Use Promise.all aggressively for independent operations.
- Never assume an async operation will succeed — always handle the failure path.
On security:
- Treat user input as hostile by default. Validate it, sanitize it, limit its size.
- Short-lived JWT access tokens (15 minutes) with longer-lived refresh tokens is the right pattern for most apps.
- Add rate limiting before you need it, not after you get hit by abuse.
On operations:
- Add a /health endpoint on day one. It takes five minutes and makes every deployment and monitoring setup easier.
- Log errors with context — user ID, request ID, relevant parameters. A stack trace without context is half a clue.
- Handle SIGTERM gracefully. Cloud deployments send this signal when scaling down. If your app ignores it, requests get dropped.
Final Thoughts on Node.js Backend Development
When I look back at the gap between my first Express app and the kind of production code I write now, the biggest difference isn’t knowing more APIs. It’s having a set of habits — around error handling, around security, around testing — that we apply consistently without having to think hard about them.
The foundations covered in this guide — understanding the event loop and non-blocking I/O, structuring your project thoughtfully, mastering async programming, building clean REST APIs with Express.js, securing every layer, and deploying with confidence — these aren’t just best practices for the sake of it.
They’re the things that determine whether your Node.js backend development work holds up when real users hit it at real scale.
Build the habits early. The code you write in your next project will reflect it.
Found something in here that helped, or something you’d push back on? That’s what the comments are for — I learn as much from the debates as I do from writing these. If there’s a specific topic you want me to go deeper on — microservices patterns, advanced MongoDB optimization, or container orchestration with Kubernetes — let me know and I’ll cover it next.
Need Help Optimizing Your Existing API?
From slow endpoints to security gaps, we help improve backend reliability and performance.

Saurabh Sharma
Software Engineer


More Backend Development Guides You’ll Actually Use
Practical Node.js, Express.js, API, and backend scaling guides built for real-world production systems.